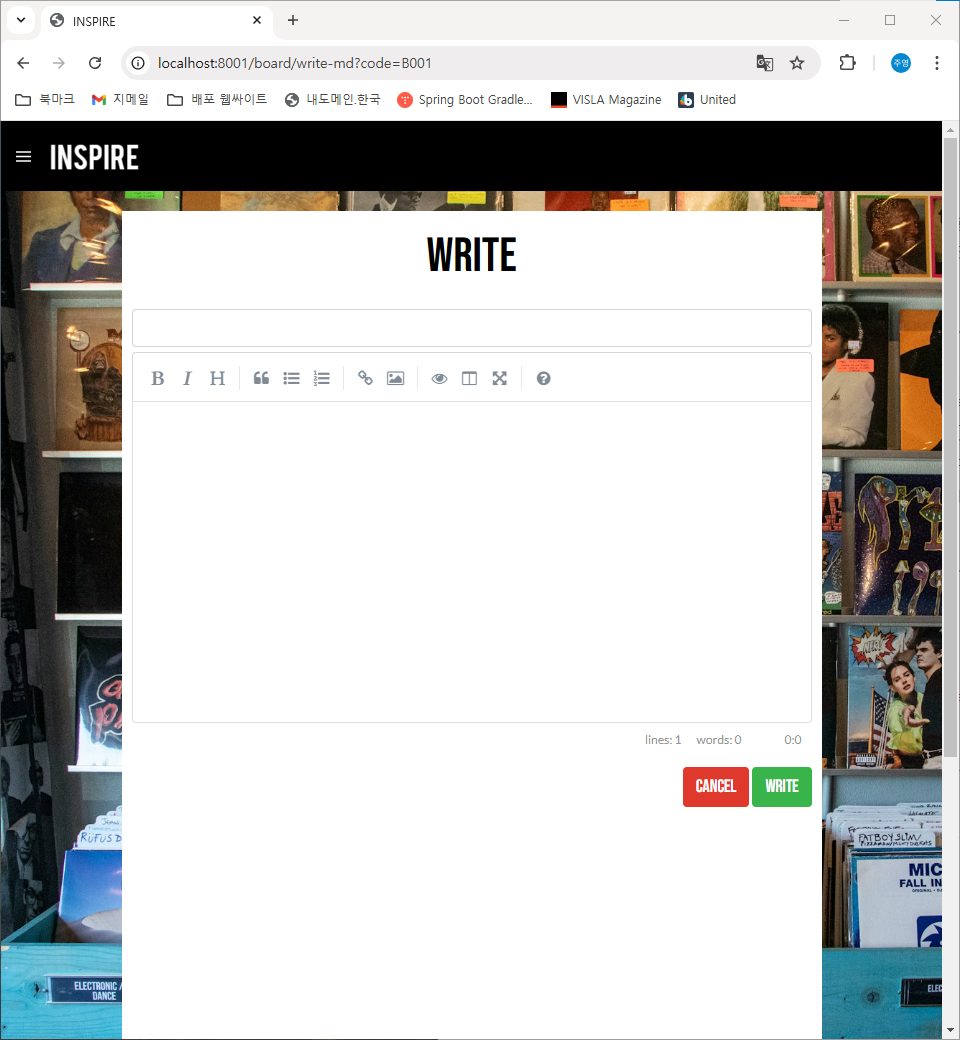
원래 화면이다.
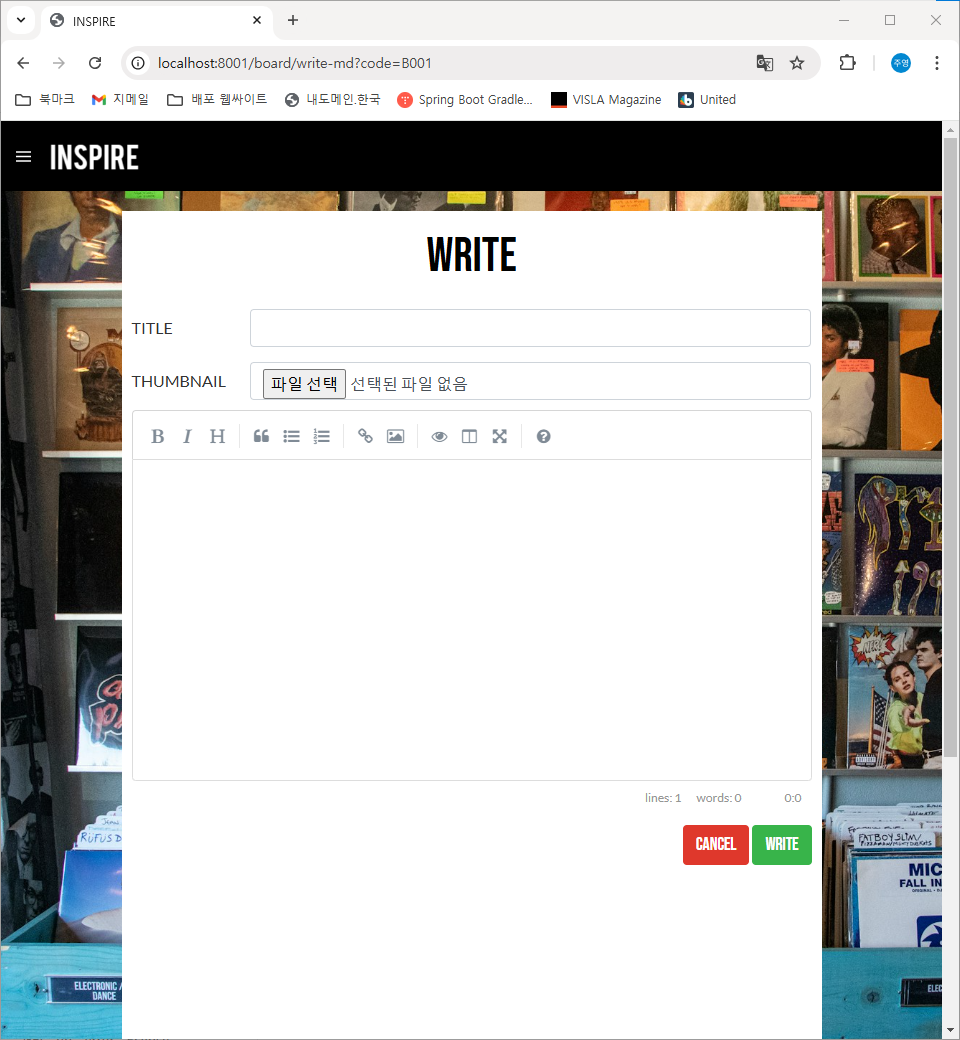
여기서 제목 input 태그 밑에 썸네일을 추가하면 미리보기를 할 수 있고 저장 후 DB에 썸네일의 경로를 저장 및 로컬에도 이미지를 저장할 것이다. 그리고 게시글 불러 올 때 썸네일도 같이 출력되게 끔 만들려고 한다.
일단 input 폼을 조금 수정했다.
<article id="article-board-main">
    <p id="article-title">
        WRITE
    </p>

    <div class="row">
      <label class="col-sm-2 col-form-label">TITLE</label>
      <div class="col-sm-10">
        <input type="text" id="write-title" class="form-control">
      </div>
    </div>

    <div class="row">
      <label class="col-sm-2 col-form-label">THUMBNAIL</label>
      <div class="col-sm-10">
        <input type="file" id="thumbnail" class="form-control" accept="image/*" onchange="thumnailPreview(this)">
      </div>
    </div>

    <img id="thumbnail-preview" alt="썸네일 미리보기"></img>

    <textarea id="editor"></textarea>
    <!-- <div id="editor"></div> -->

    <div id="btn-grp">
        <button type="button" id="btn-cancel" class="btn btn-danger">CANCEL</button>
        <button type="button" id="btn-write" class="btn btn-success">WRITE</button>
    </div>
</article>
그리고 이미지 들어갈 태그에 css를 먹여놨다. 처음부터 img 태그가 보이면 이미지가 없기 때문에 엑박이 뜬다. 그래서 처음엔 display를 none으로 해놨다가 사진을 첨부할 경우에 display를 block으로 변경한다.
#thumbnail-preview {
    display: none;
    height: 200px;
    margin-bottom: 10px;
}
    function thumnailPreview(file) {
        let thumbnail = file.files[0];

        if(thumbnail) {
            let reader = new FileReader();

            reader.onload = function(e) {
                let thumbnailPreview = $('#thumbnail-preview');
                thumbnailPreview.attr('src', e.target.result);
                thumbnailPreview.css('display', 'block');
            };

            reader.readAsDataURL(thumbnail);
        }
    }
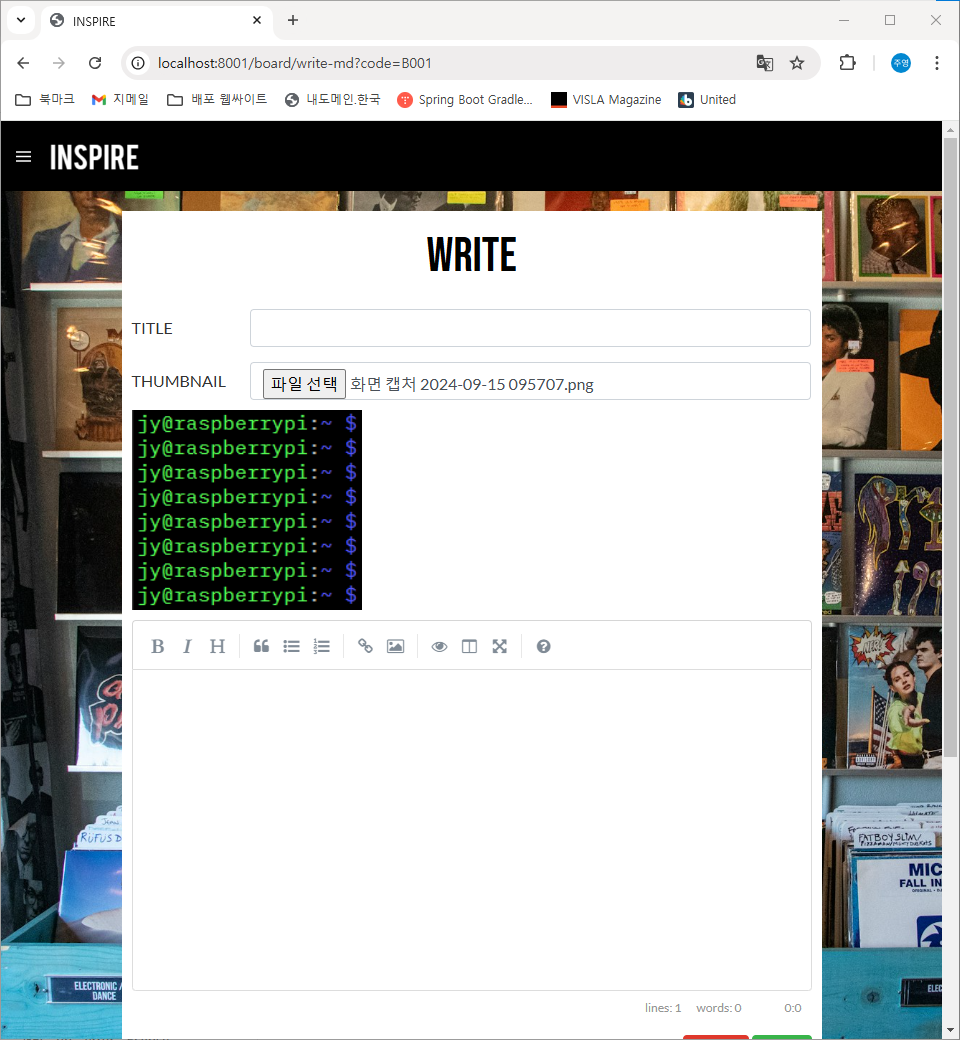
미리보기가 제대로 출력되는 것을 확인할 수 있다.
Controller, Service는 알아서 로직 만들면 될 것 같고 FileUploadUtil, WebConfig는 아래를 통해 확인할 수 있다.
더보기
package com.project.homepage.cmmn.util;

import java.io.File;
import java.io.IOException;
import java.nio.file.Files;
import java.nio.file.Path;
import java.nio.file.Paths;
import java.util.UUID;

import org.slf4j.Logger;
import org.slf4j.LoggerFactory;
import org.springframework.beans.factory.annotation.Value;
import org.springframework.stereotype.Component;
import org.springframework.web.multipart.MultipartFile;

@Component
public class FileUploadUtil {
	private final Logger log = LoggerFactory.getLogger(getClass());
	private final String prefixPath;

	public FileUploadUtil(@Value("${file.path}") String prefixPath) {
		this.prefixPath = prefixPath;
	}

	public String fileUpload(MultipartFile file, String suffixPath) throws IOException {
		String fileName = uuidGet(file);
		Path path = Paths.get(prefixPath);

		// 해당 경로에 폴더가 없을 경우 생성한다.
		if(!Files.exists(path)) {
			try {
				Files.createDirectories(path);
			} catch(IOException e) {
				throw new IOException();
			}
		}

		/*
		 * savePath		- LOCAL에 저장되는 실제 경로
		 * uploadPath	- WebConfig를 통해 연결되는 외부 리소스 경로
		 */
		String savePath = Paths.get(prefixPath + fileName).toString();
		String uploadPath = suffixPath + fileName;
		File saveFile = new File(savePath);

		try {
			file.transferTo(saveFile);
		} catch(IOException e) {
			// ...
		}

		return uploadPath;
	}

	public String uuidGet(MultipartFile file) {
		String originalName = file.getOriginalFilename();
		String ext = originalName.substring(originalName.lastIndexOf("."));
		return UUID.randomUUID() + ext;
	}
}
package com.project.homepage.cmmn;

import org.springframework.beans.factory.annotation.Value;
import org.springframework.context.annotation.Configuration;
import org.springframework.web.servlet.config.annotation.ResourceHandlerRegistry;
import org.springframework.web.servlet.config.annotation.WebMvcConfigurer;

@Configuration
public class WebConfig  implements WebMvcConfigurer {
	private final String prefixPath;

	public WebConfig(@Value("${file.path}") String prefixPath) {
		this.prefixPath = prefixPath;
	}

	@Override
	public void addResourceHandlers(ResourceHandlerRegistry registry) {
		registry.addResourceHandler("/thumbnail/**")
				.addResourceLocations("file:" + prefixPath);

	}
}
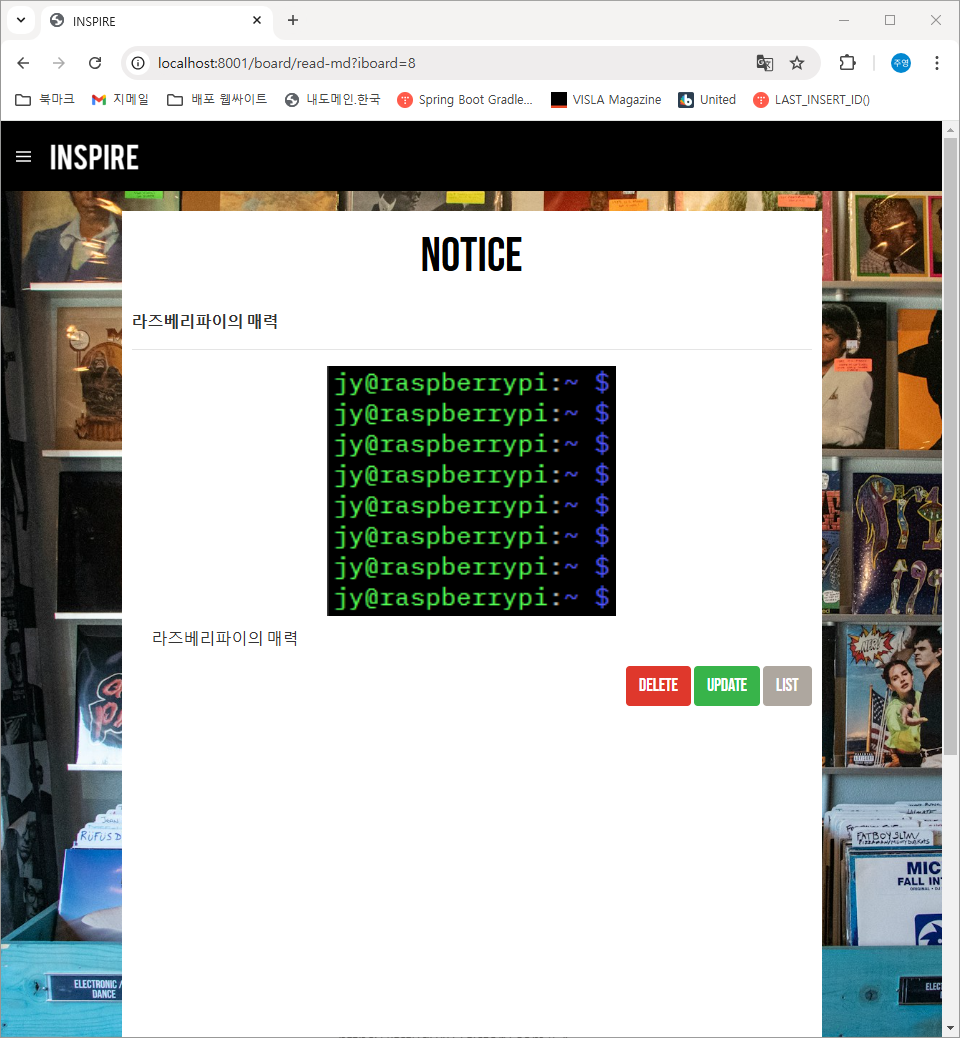
완성하면 아래와 같이 출력된다.
참고 레퍼런스
'Javascript' 카테고리의 다른 글
| [Javascript] 버튼 클릭 시 주변 노드 text 가져오기 (2) | 2024.07.16 |
|---|